3D Printing Calibration Considerations
Benchy - Classic Test
Here's a comprehensive step-by-step calibration process for FFF/FDM printers:
Initial Setup and Mechanical Calibration
1. Level the Build Plate Start with manual bed leveling using a piece of paper between the nozzle and bed. The paper should have slight resistance when sliding underneath. Check all four corners and the center, adjusting bed screws until consistent. For auto-leveling systems, ensure the probe offset is correctly configured.
2. Check Belt Tension Verify that X and Y axis belts have proper tension - they should produce a low musical note when plucked, not be loose or overly tight. Adjust tensioners as needed.
3. Verify Frame Squareness Measure diagonals of the frame and print bed to ensure the printer is square. Small adjustments to frame bolts can correct minor issues.
Temperature Calibration
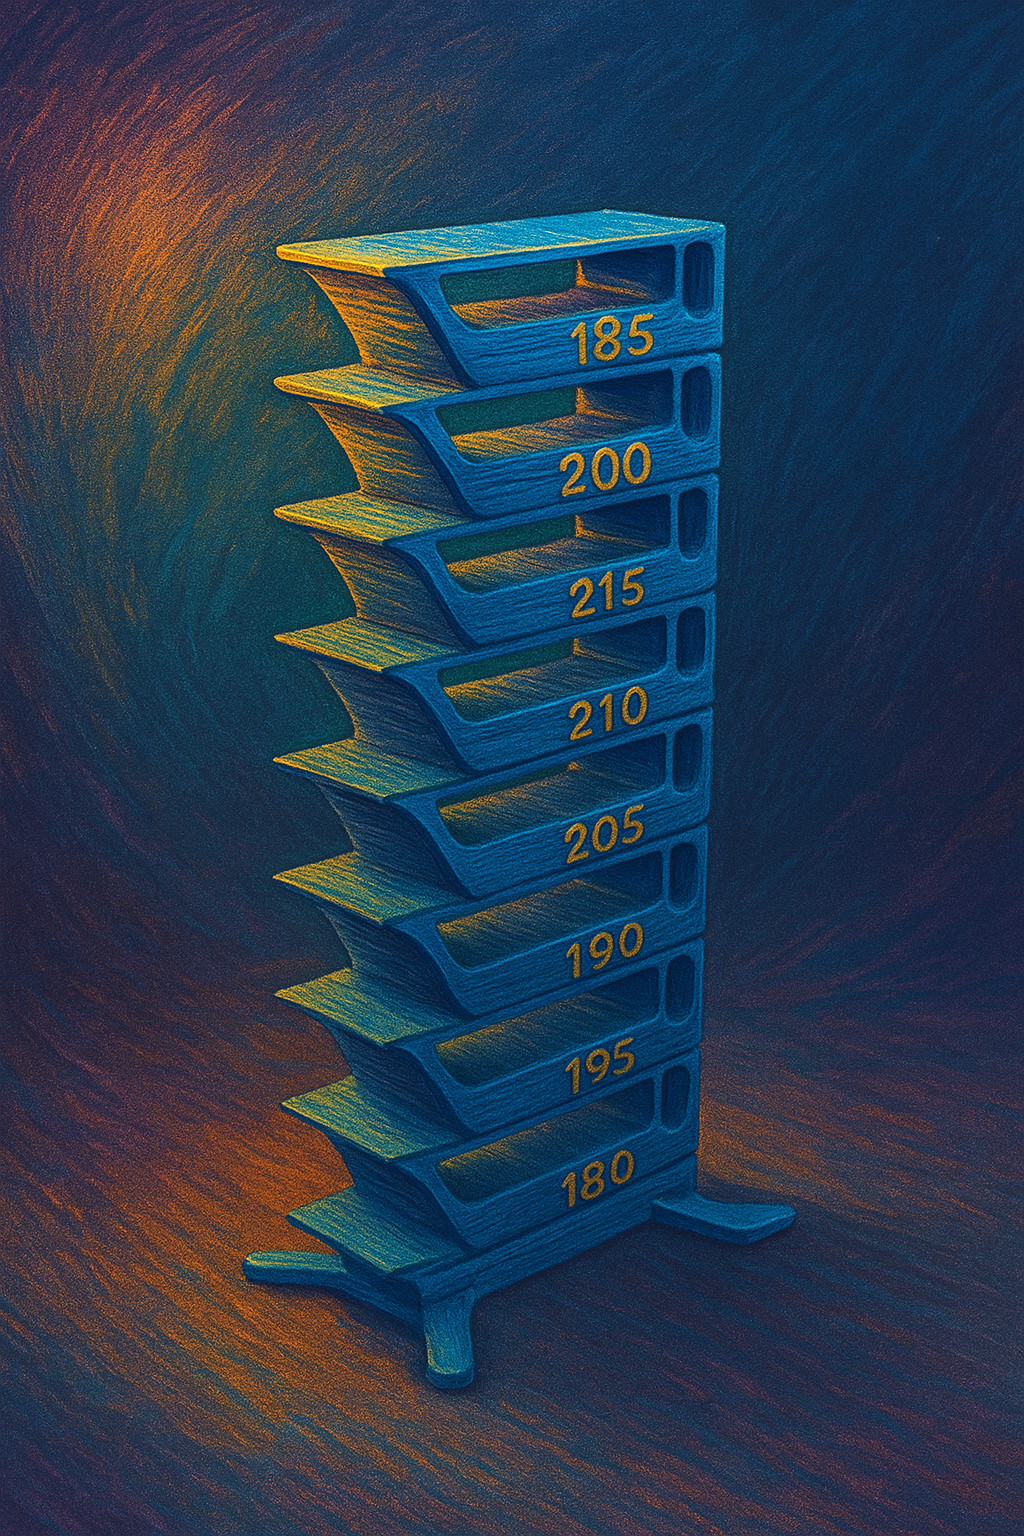
4. Calibrate Extruder Temperature Print temperature towers starting 20°C below and 20°C above the filament manufacturer's recommended temperature. Look for the temperature that provides the best layer adhesion without stringing or overheating artifacts.
3D Printing Temperature Tower
Figure 1 Temperature Tower
5. Calibrate Bed Temperature Test bed adhesion at different temperatures. Start with manufacturer recommendations and adjust based on warping or adhesion issues.
Flow and Extrusion Calibration
6. Calibrate E-steps (Extruder Steps) Mark 120mm of filament from the extruder entry point. Command the printer to extrude 100mm of filament. Measure the remaining distance and calculate the correction factor. Update firmware with the corrected steps/mm value.
7. Calibrate Flow Rate Print single-wall test cubes and measure wall thickness with calipers. If walls are thicker than your nozzle diameter, reduce flow rate. If thinner, increase flow rate. Adjust in 2-5% increments.
Dimensional Accuracy
8. Calibrate Linear Advance (if supported) Print linear advance calibration patterns to eliminate pressure advance artifacts. This helps with consistent extrusion during acceleration and deceleration.
9. Print Dimensional Test Objects Print 20mm calibration cubes and measure with calipers. Adjust steps/mm for X, Y, and Z axes if dimensions are consistently off. Small adjustments of 1-2% are typical.
Print Quality Fine-tuning
10. Optimize Retraction Settings Print retraction test towers with varying retraction distances (0.5-8mm) and speeds (20-80mm/s). Find the minimum retraction that eliminates stringing without causing under-extrusion.
11. Calibrate Print Speed Start with conservative speeds (30-50mm/s) and gradually increase while monitoring print quality. Different features may need different speeds (perimeters, infill, top layers).
12. Tune Acceleration and Jerk Settings Lower values improve print quality but increase print time. Start with manufacturer defaults and reduce if you see ringing or layer shifting.
Layer Adhesion and Surface Quality
13. Optimize First Layer Adjust Z-offset until the first layer is properly squished but not over-compressed. The first layer should be slightly wider than subsequent layers with good bed adhesion.
14. Calibrate Layer Height While 0.2mm is standard, test different layer heights (0.1-0.3mm) based on your quality requirements. Ensure layer height doesn't exceed 80% of nozzle diameter.
15. Fine-tune Cooling Settings Print overhang test objects to optimize part cooling fan settings. Most PLA prints benefit from 100% cooling after the first few layers, while ABS typically needs minimal cooling.
Advanced Calibration
16. Pressure Advance Calibration For printers supporting pressure advance, print test patterns to eliminate bulging at corners and improve dimensional accuracy during direction changes.
17. Input Shaping (if available) For printers with accelerometer support, run input shaping calibration to reduce ringing and allow higher print speeds while maintaining quality.
18. Print Test Objects Print standard test objects like Benchy, calibration cubes, and bridging tests to verify overall calibration. These help identify any remaining issues with your settings.
After completing these steps, document your successful settings and create printer profiles for different materials. Regular maintenance and occasional recalibration will help maintain optimal print quality over time.
Multi-material printing:
In order to print multiple materials in the same print with a single nozzle such as the Bambu Labs XIC, you need to consider materials that can be printed at the same temperature and similar bed temperatures. Printing of multiple colors with the same material are relatively easy as the printing parameters are the same. For systems that have multiple toolheads or nozzles, each nozzle can be optimized for a particular material.


