
3D Printing Architectural Models
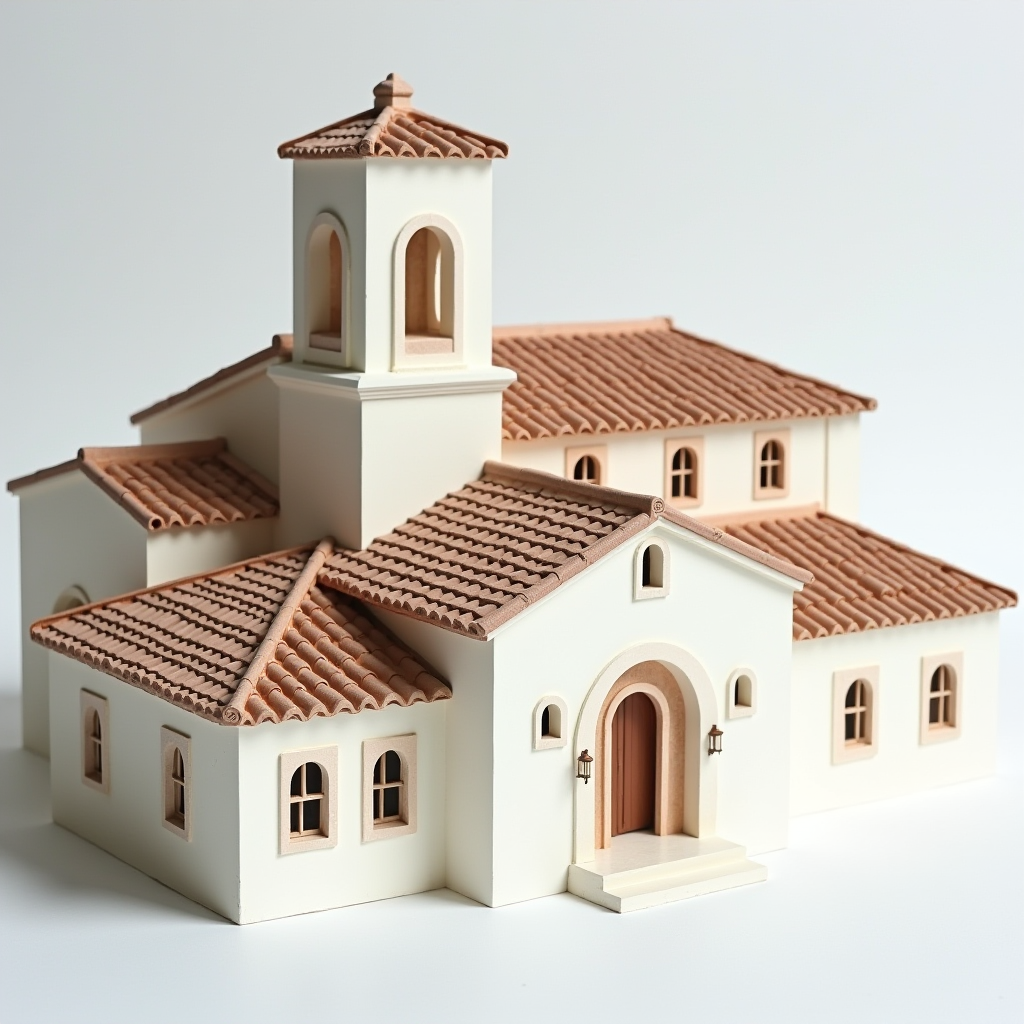
Visualization of 3D model architecture
For centuries, architectural models have been the essential bridge between a blueprint and a building. Traditionally a painstaking craft of wood, foam, and cardboard, the process has been completely transformed by technology. Today, 3D printing architectural models is the new industry standard, allowing architects, designers, and developers to bring digital designs to life with incredible speed, detail, and efficiency.
This guide explores 3D printing architectural models. These can revolutionize your workflow, from initial concept to final client presentation.
Why Use Architectural Models 3D Printing? The Core Advantages
Switching from traditional methods to 3D printing offers a clear competitive edge by optimizing the entire design and review process.
Unmatched Speed for Rapid Iteration: The most significant advantage is speed. A detailed model that might take a skilled artisan weeks to build by hand can be printed in a matter of hours or days. This rapid turnaround allows for swift design validation and enables architects to iterate on concepts quickly, testing and refining ideas almost as fast as they can design them.
Capture Every Detail with High Precision: Architectural models 3D printing excels at creating complex geometries and intricate details that are exceptionally difficult or impossible to replicate manually. Delicate facades, complex structural components, and detailed interior layouts are all rendered with perfect accuracy directly from your CAD file.
Enhance Communication and Win Projects: A physical model is a powerful communication tool. It allows clients, investors, and planning committees to visualize and understand the scale, form, and spatial qualities of a project in a way that 2D drawings or digital renders simply cannot match. A stunning, detailed model can make all the difference in a presentation.
Cost-Effective and Efficient: While the initial investment in a printer exists, the overall 3D printing architectural models cost is often lower than traditional methods, especially when factoring in labor. Additive manufacturing also reduces material waste by only using what is needed to build the model, further improving cost-efficiency.
The Process: 3D Printing of Architectural Models from Start to Finish
The workflow for creating a 3D printed model is a seamless journey from digital file to physical form.
Digital Design (CAD): The process starts with a 3D model created in architectural software like Revit, ArchiCAD, Rhino, or SketchUp. The more detailed the digital file, the more detailed the final print.
File Preparation: The CAD model is then exported as an STL or 3MF file, the standard languages for 3D printers. The file is checked to ensure it is a "watertight" solid and scaled to the desired final size.
Slicing the Model: This prepared file is imported into "slicer" software. The slicer digitally cuts the model into hundreds or thousands of thin horizontal layers and generates the G-code, the instruction path the printer will follow.
Printing the Model: The G-code is sent to the 3D printer. The printer then begins constructing the model from the bottom up, one layer at a time. This automated process can run unsupervised, often overnight for larger models.
Post-Processing: Once the print is complete, it may require some finishing. This can involve removing temporary support structures, light sanding for a smoother finish, assembling different printed sections, and painting to add color and realism.
Understanding the 3D Printing Architectural Models Cost
The cost of producing a 3D printed model can vary significantly based on several key factors. Understanding these variables will help you estimate expenses and make informed decisions.
Model Size & Complexity: This is the biggest cost driver. Larger models require more material and significantly longer print times. Intricate designs with many fine details also increase print time and may require more advanced printers.
Printing Technology: FDM printers are the most cost-effective for simple massing models. SLA technology, which produces higher detail, costs more in terms of both machinery and materials. Full-color binder jetting is often the most expensive but offers unparalleled realism.
Material Choice: Standard PLA filament for FDM printers is very affordable. In contrast, specialized resins for SLA or polyamide powders for SLS are more expensive. The choice of material directly impacts the final look, feel, and cost of the model.
In-House vs. Service Bureau: Owning an in-house printer has a higher upfront cost but dramatically reduces the cost per model over time. Using a professional 3D printing service eliminates the capital investment and is ideal for firms that only need models occasionally.
Choosing the Right Technology and Materials
The technology and material you choose will define the quality and characteristics of your final model.
Technologies:
Fused Deposition Modeling (FDM): Best for speed and low cost. Ideal for early-stage concept and massing models using materials like PLA.
Stereolithography (SLA): The go-to for high-detail presentation models with a smooth surface finish, using liquid resins.
Binder Jetting: Perfect for producing models in full, vibrant color directly from the printer, using a sandstone-like powder.
Materials:
PLA Plastic: The most popular choice for FDM, known for its ease of use and crisp details. Available in a wide range of colors.
Resin: Used in SLA printers to create highly detailed and smooth models.
Full-Color Sandstone: The material used in binder jetting to achieve photorealistic color models.
As this powerful technology becomes more accessible, 3D printing architectural models is no longer a novelty but an essential tool for modern architectural practice, enabling greater creativity, clearer communication, and more efficient design. Contact us for more information or to start printing your model.